Getting Started
Getting your ProxyBox up and running takes about five minutes. Plug it in, connect to your network, and you’re ready to start printing.
Physical Setup
Section titled “Physical Setup”- Plug the power adapter into a power source and connect the USB-C end to the ProxyBox.
- Connect the ProxyBox to your router with an Ethernet cable.
- Press the power button to turn it on.
- Wait about 5 minutes for the initial boot process to complete.
- From another device on the same network, open a browser and navigate to
https://pbx-ABCD.pbxz.io(replace ABCD with the 4-character ID on the sticker on your device).
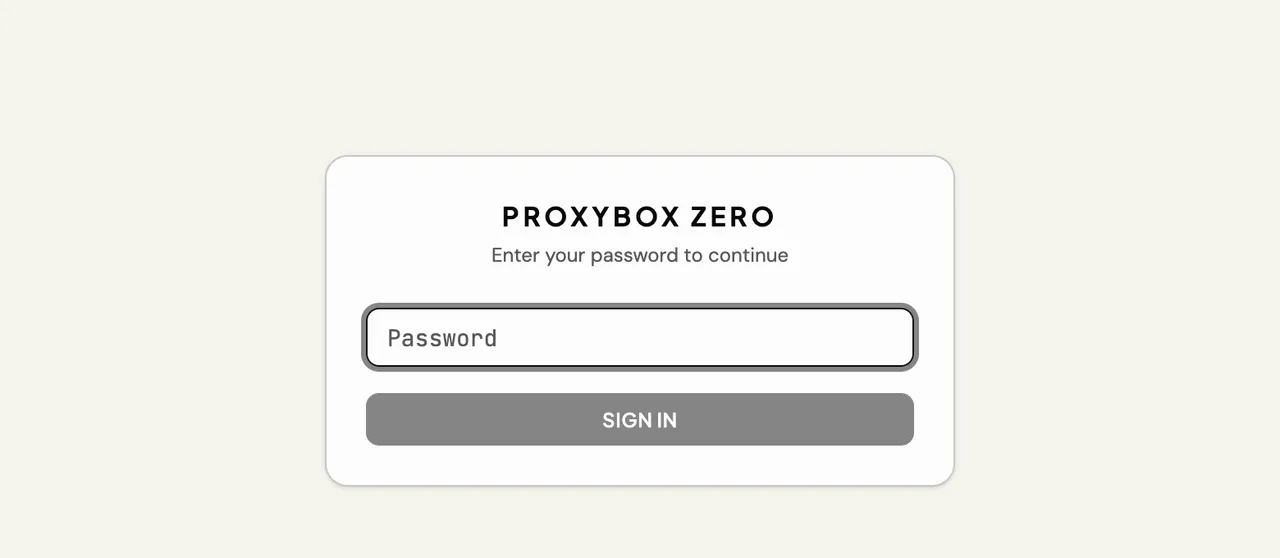
First Login
Section titled “First Login”You’ll see a password prompt. Enter the default credentials:
- Password:
proxybox
Change Your Password
Section titled “Change Your Password”Type your new password in the Change Password field and press Save Password.

The web server will restart and you’ll be prompted to refresh. You’ll know the update succeeded when the login prompt accepts your new password.
The Admin Dashboard
Section titled “The Admin Dashboard”After login you’ll land on the admin page, which shows all available modules — printers, tags, proxy URLs, settings, and extensions.
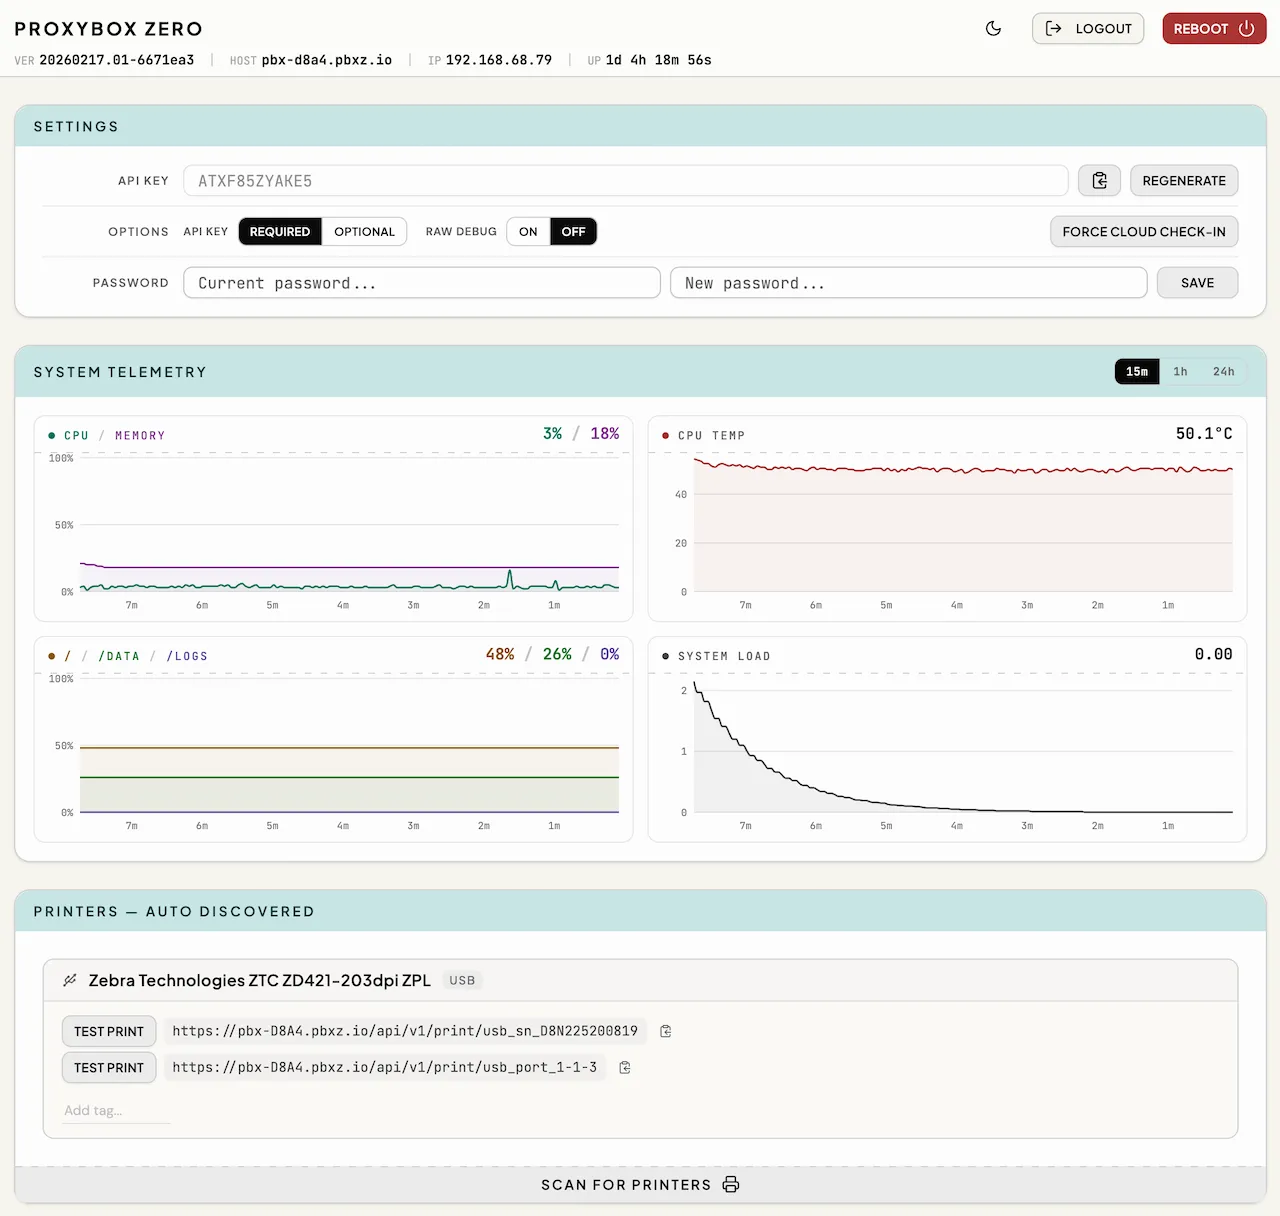
Header Bar
Section titled “Header Bar”
The header displays:
| Field | Description |
|---|---|
| Release Version | The release version currently running on the device. |
| IP Address | The device’s local IP address. |
| Hostname | The device’s hostname. |
| Uptime | Time since the last reboot. |
The header also provides a Logout button and a Reboot button. Rebooting will show a confirmation dialog first.
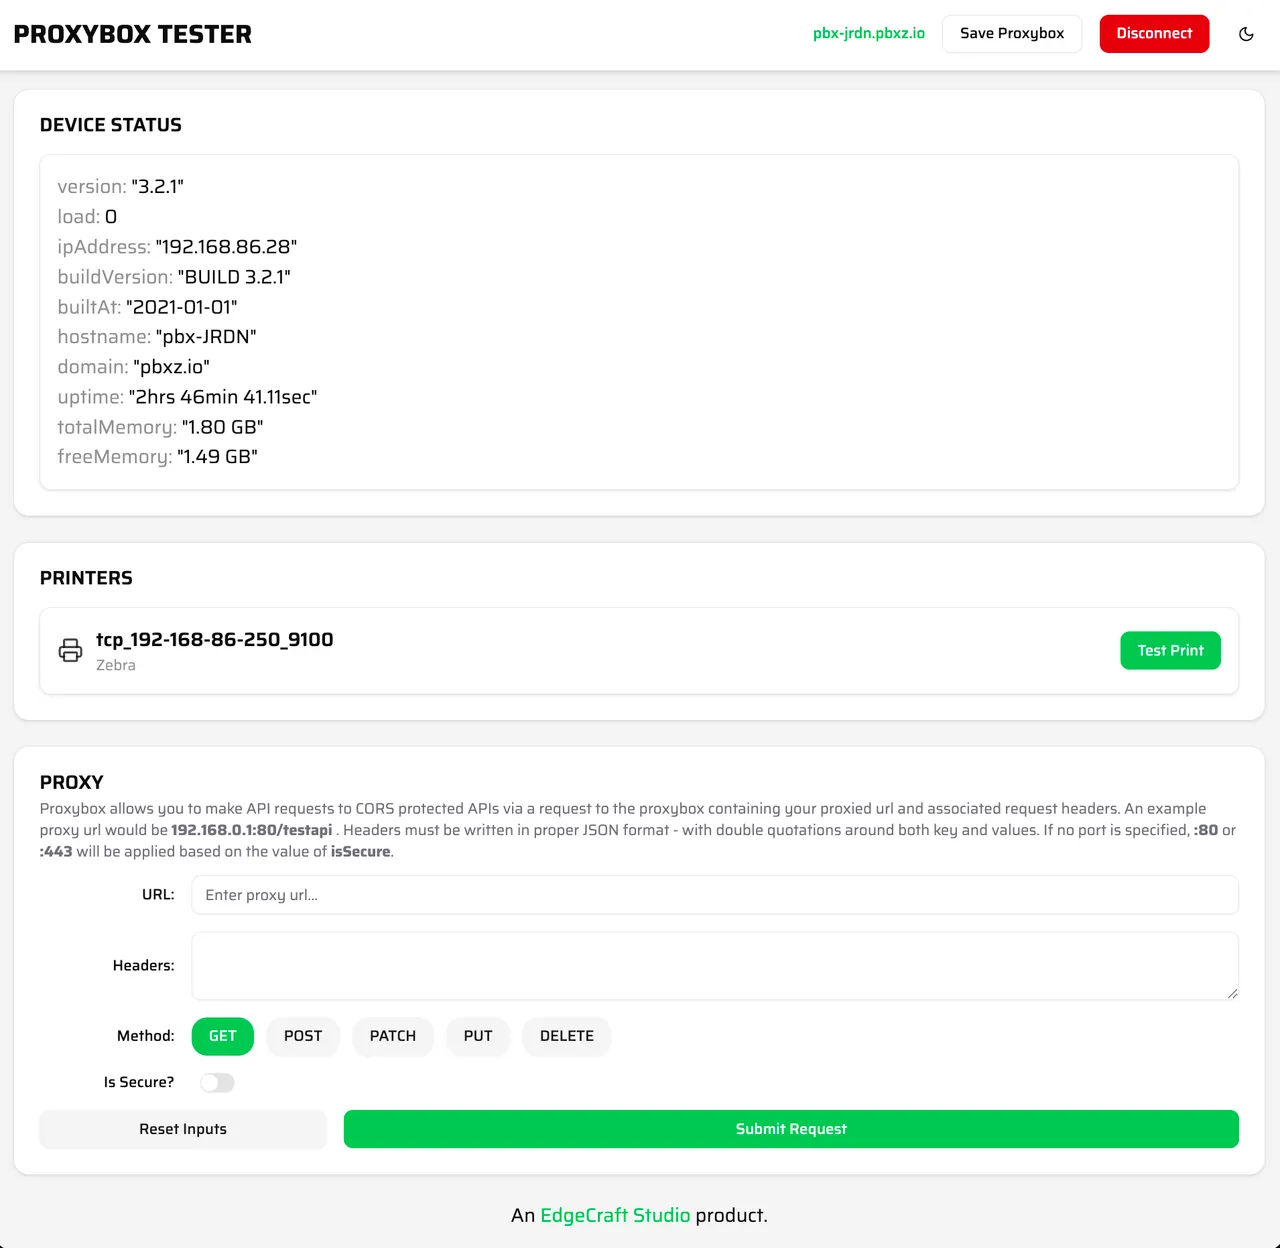
Test Your Connection
Section titled “Test Your Connection”Navigate to https://test.pbxz.io to run a quick test against your device.
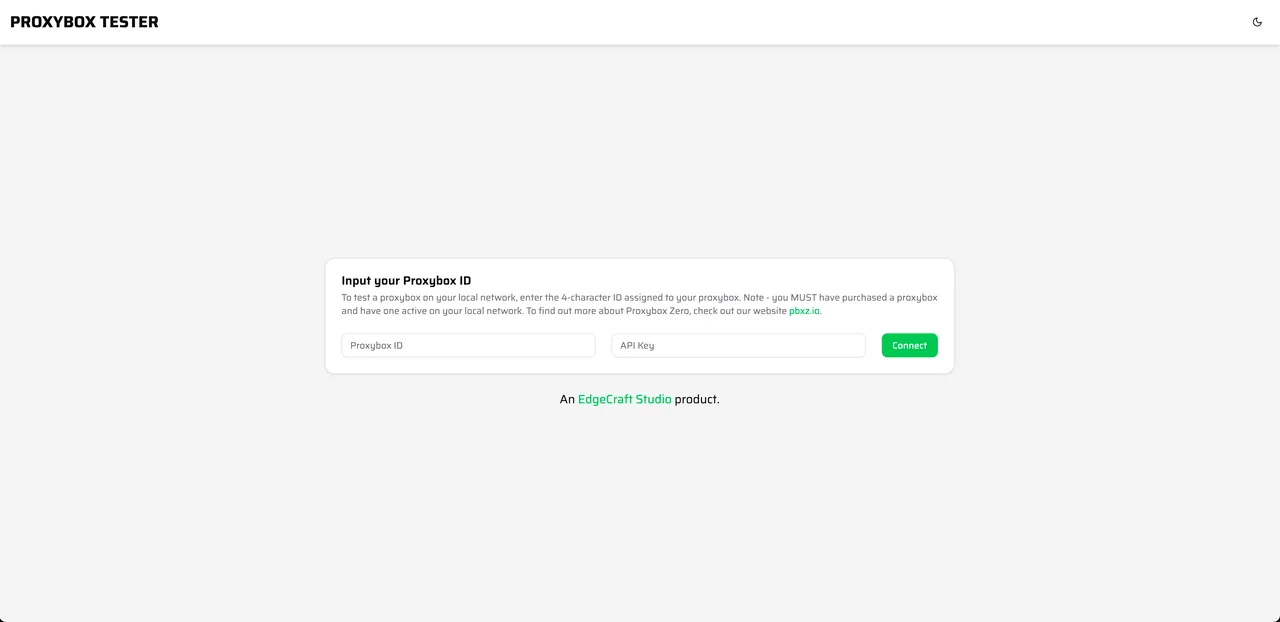
You’ll be asked for two values:
- ProxyBox ID — the same 4-character ID from the setup steps above.
- API Key — found on the admin page under Settings > API Key.

Enter both values and connect. The test page lets you view device status, see discovered printers, and send test prints — confirming everything is working before you integrate with your applications.